Body Work
Detailed
below are the major areas of the car that I repaired.
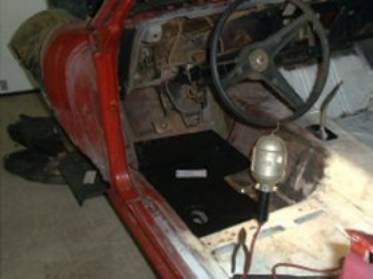
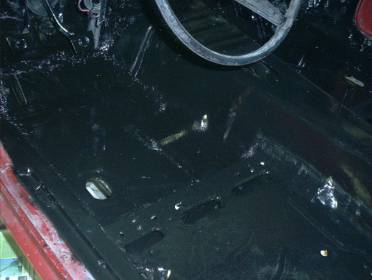
Floor Pans
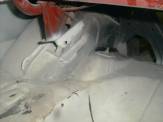
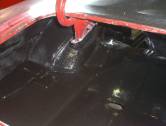
The general technique I used was to glue the floor pans. Carefully measuring and cutting the replacement panels and then gluing and screwing in the new pans did the trick. After screwing, grind off the heads, cut off the extrusions, seam seal, and then POR-15 both the top and underside. In the first picture below you can see how I carefully cut around areas of the existing floor pan, preserving the existing metal. On the passenger side, I cut almost the entire pan out. That was simpler because cutting and measuring were minimized and the quality came out much better.
|
The new pan going in |
|
|
|
|
|
After it’s in |
|
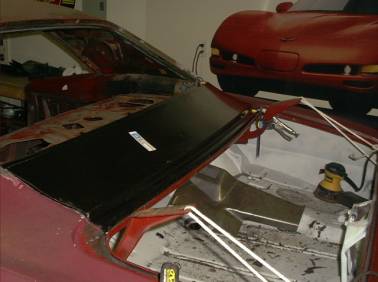
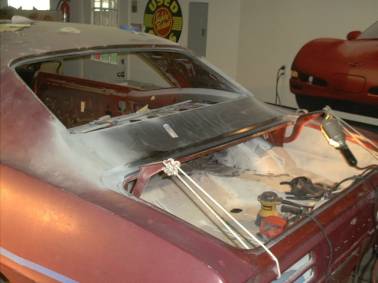
Rear Window Filler Panel
Again, I glued this replacement panel. At first, I cut away only a small portion underneath the window. After more thought, I cut the entire panel out down to the trunk. That was easier in some respects, but not others. Mainly, I had to refashion the drip channels that run from the rear window down to the trunk – that took a long time before getting them just right. Also, the lip sticks up ever so slightly above the trunk lid.
|
The new panel being fitted in |
|
|
|
|
|
After installation |
|
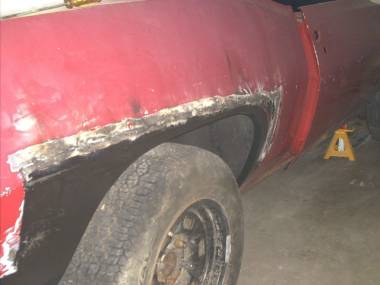
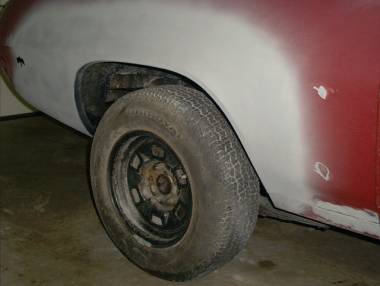
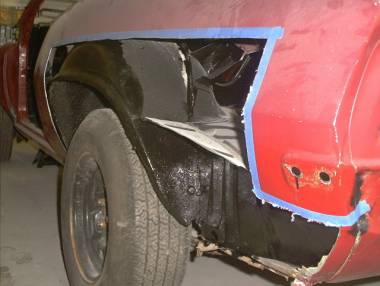
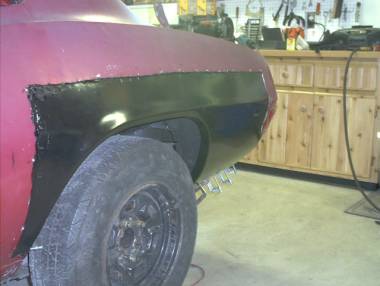
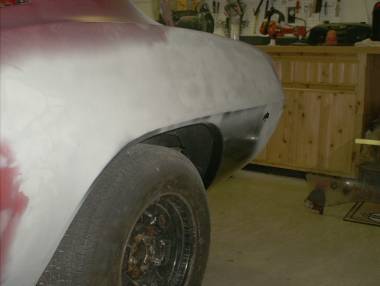
¼ Panels
Man, these were a lot of work. Once again, I glued both panels in. Notice on the RH panel that I cut very close to the lip of the wheel well. Big mistake. Filling the seam correctly in an area with a compound curve complicated the effort enormously. On the Driver’s side you’ll notice that I cut the replacement panel much higher, providing a flatter surface to fill.
|
New RH panel being fitted |
|
|
|
|
|
RH after installation |
|
|
|
|
|
LH side after cutting away |
|
|
|
|
|
Trimming to fit! |
|
|
|
|
|
In and glued |
|
|
|
|
|
Filled and temporary primer |
|

Trunk Area
The first series of pictures below illustrate how I repaired the left-hand wheel well.
|
1. Rear wheel well cut away |
|
2. New metal fitted |
|
|
|
|
|
|
|
3. Glued and filled |
|
4. After POR-15 |
|
|
|
|
|
|
|
5. Completed |
|
|
|

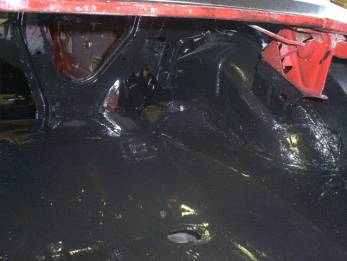
I also had to repair the right-hand shock tower
|
Before going in |
|
|
|
|
|
After installation and POR-15 |
|
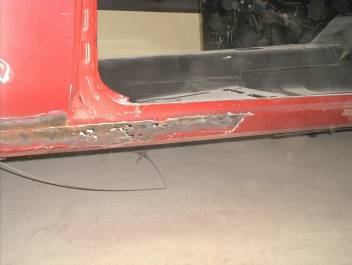
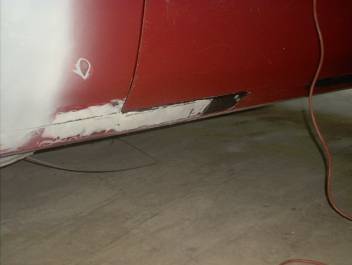
Rocker Panel
The rocker panels weren’t in bad shape at all and only 1 minor repair on the right-hand side was required
|
Damage exposed |
|
|
|
|
|
Initial repair |
|