Preparation
After completing the bodywork it was time to start preparing the rest of the chassis. In general, I stripped the entire car and applied POR-15 throughout – the interior, frame, underbody, etc. Below are some sample areas.
|
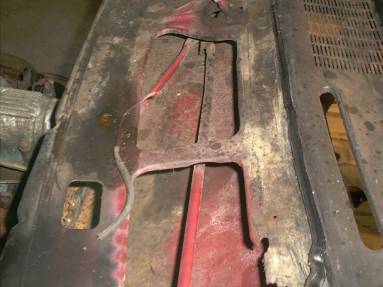
Here’s the cowl before
preparing |
|
|
|
|
|
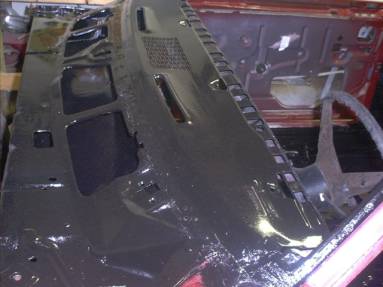
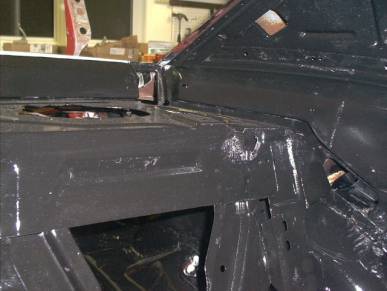
Here’s the cowl after |
|
|
|
|
|
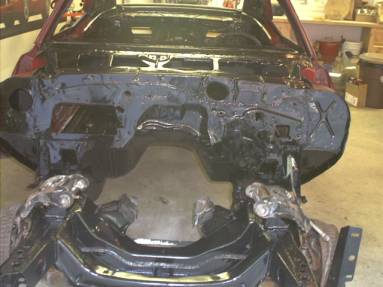
The frame and firewall |
|
|
|
|
|
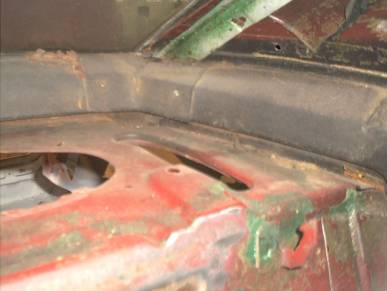
The rear deck before |
|
|
|
|
|
The rear deck after |
|
|
|
|
|
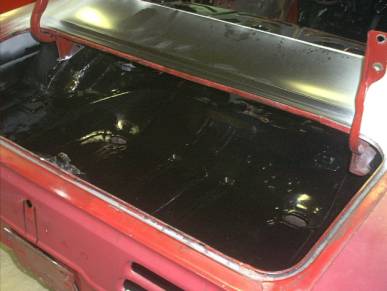
The trunk area after
stripping, repairing a few pin holes, and applying POR-15 |
|
|
|
|
|
The trunk area after
priming and spraying spatter paint |
|
|
|
|
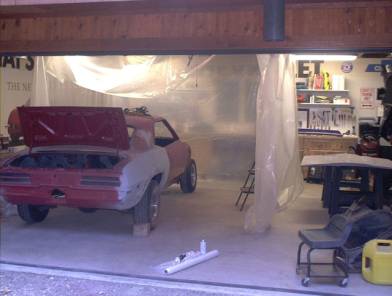
Priming
I
stripped the entire car to bare metal, sprayed 2 coats of DP-40 epoxy primer,
applied body filler where needed, shot 2 more coats of DP-40, and then topped
with 3 coats of K-36 high-build primer. The entire process took many weeks!
|
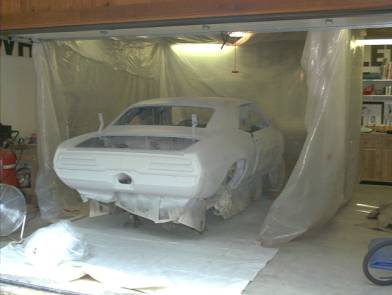
Before starting anything I
created a make-shift paint booth in the garage |
|
|
|
|
|
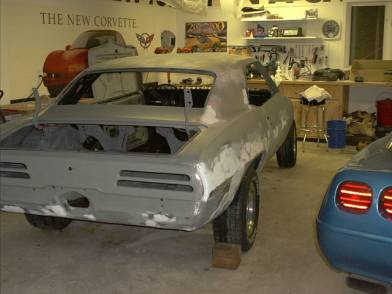
This is after stripping,
applying the first coat of DP-40, and filler work |
|
|
|
|
|
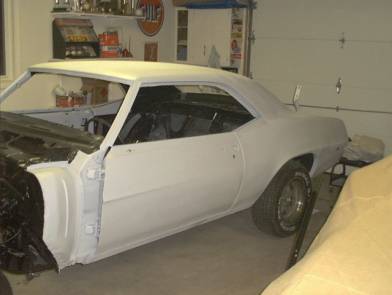
After applying the K-36 |
|
|
|
|
|
I think it turned out
fairly nice for my first effort! There are a couple of areas where I left too
much filler that the paint shop can fix |
|
|
|
|